Retrieve Deleted Emails on iPhone: Your Complete Recovery Guide
There's a sinking feeling that comes with realizing an important email has vanished from your iPhone. Whether it was a crucial work communication, a cherished personal message, or a vital confirmation, the panic sets in quickly. But before you despair, take a deep breath. The good news is that accidentally deleting an email on your iPhone doesn't necessarily mean it's gone forever. In many cases, it's possible to recover those seemingly lost messages with a few simple steps. This comprehensive guide will walk you through various methods to understand how to retrieve deleted emails on iPhone, from simple searches to more advanced recovery techniques, ensuring you're equipped to bring back your valuable communications.
The iOS Mail app, alongside third-party email clients, often provides multiple layers of safety nets designed to prevent permanent data loss. Our focus here is on empowering you with the knowledge and actionable steps to utilize these features effectively. From digging through your digital trash bin to leveraging webmail interfaces, we'll cover all the bases to help you recover your important emails, whether they were recently or appear to be permanently deleted. If you've accidentally deleted an iPhone email, acting quickly is often key to a successful recovery.
The First Line of Defense: Uncovering "Hidden" Emails
Sometimes, emails that appear to be deleted are merely out of sight, tucked away in an unexpected folder or simply overlooked. Before assuming the worst, it's wise to explore the native features of your iPhone's Mail app, which are surprisingly powerful in locating misplaced messages.
Leveraging the Mail App's Smart Search Feature
The built-in search functionality of the iPhone Mail app is often your quickest route to finding emails that seem to have disappeared. These messages might not be deleted at all, but rather moved to a different folder, or simply buried under an avalanche of new mail.
- Open the Mail App: Tap the Mail icon on your iPhone's home screen.
- Reveal the Search Bar: From any inbox list (e.g., "All Inboxes," "Primary"), gently pull down from the top of the screen. This action will reveal the search bar at the top.
- Enter Your Query: Type keywords, parts of the subject line, the sender's name, or even a specific date range associated with the email you're trying to find. The search is robust and will scan across all your linked mailboxes.
- Review Results: As you type, results will begin to appear. Scrutinize these results carefully. The Mail app often categorizes them, showing emails from "All Mailboxes" first, then offering to search "All Inboxes" or specific folders.
- Locate and Retrieve: Once you find the email, tap on it to open. From there, you can move it back to your primary inbox or any other desired folder by tapping the folder icon (usually a square with an arrow pointing into it) at the bottom of the screen.
Pro Tip: Be as specific as possible with your search terms. If you remember even a single unique word from the email body, it can significantly narrow down the results.
Checking the Archive Folder: Your Digital Filing Cabinet
A common scenario for "missing" emails is that they weren't deleted but archived instead. Depending on your email provider's settings (Gmail, for instance, often defaults to archiving instead of deleting when you swipe left), emails might be moved to an 'Archive' folder. This folder acts as a clean-up tool, removing emails from your main inbox without permanently discarding them.
- Open the Mail App: Launch the Mail app on your iPhone.
- Access Mailboxes: If you're currently in a specific inbox, tap 'Mailboxes' (often found in the top-left corner) to return to your main list of mailboxes.
- Find the Archive Folder: Scroll through the list of mailboxes. You should see an 'Archive' folder. Tap to open it. (Note: Some email providers might label it 'All Mail' or a similar term).
- Search Within Archive: Once inside the Archive folder, use the search bar (reveal it by pulling down slightly) to look for your email using keywords, sender, or subject.
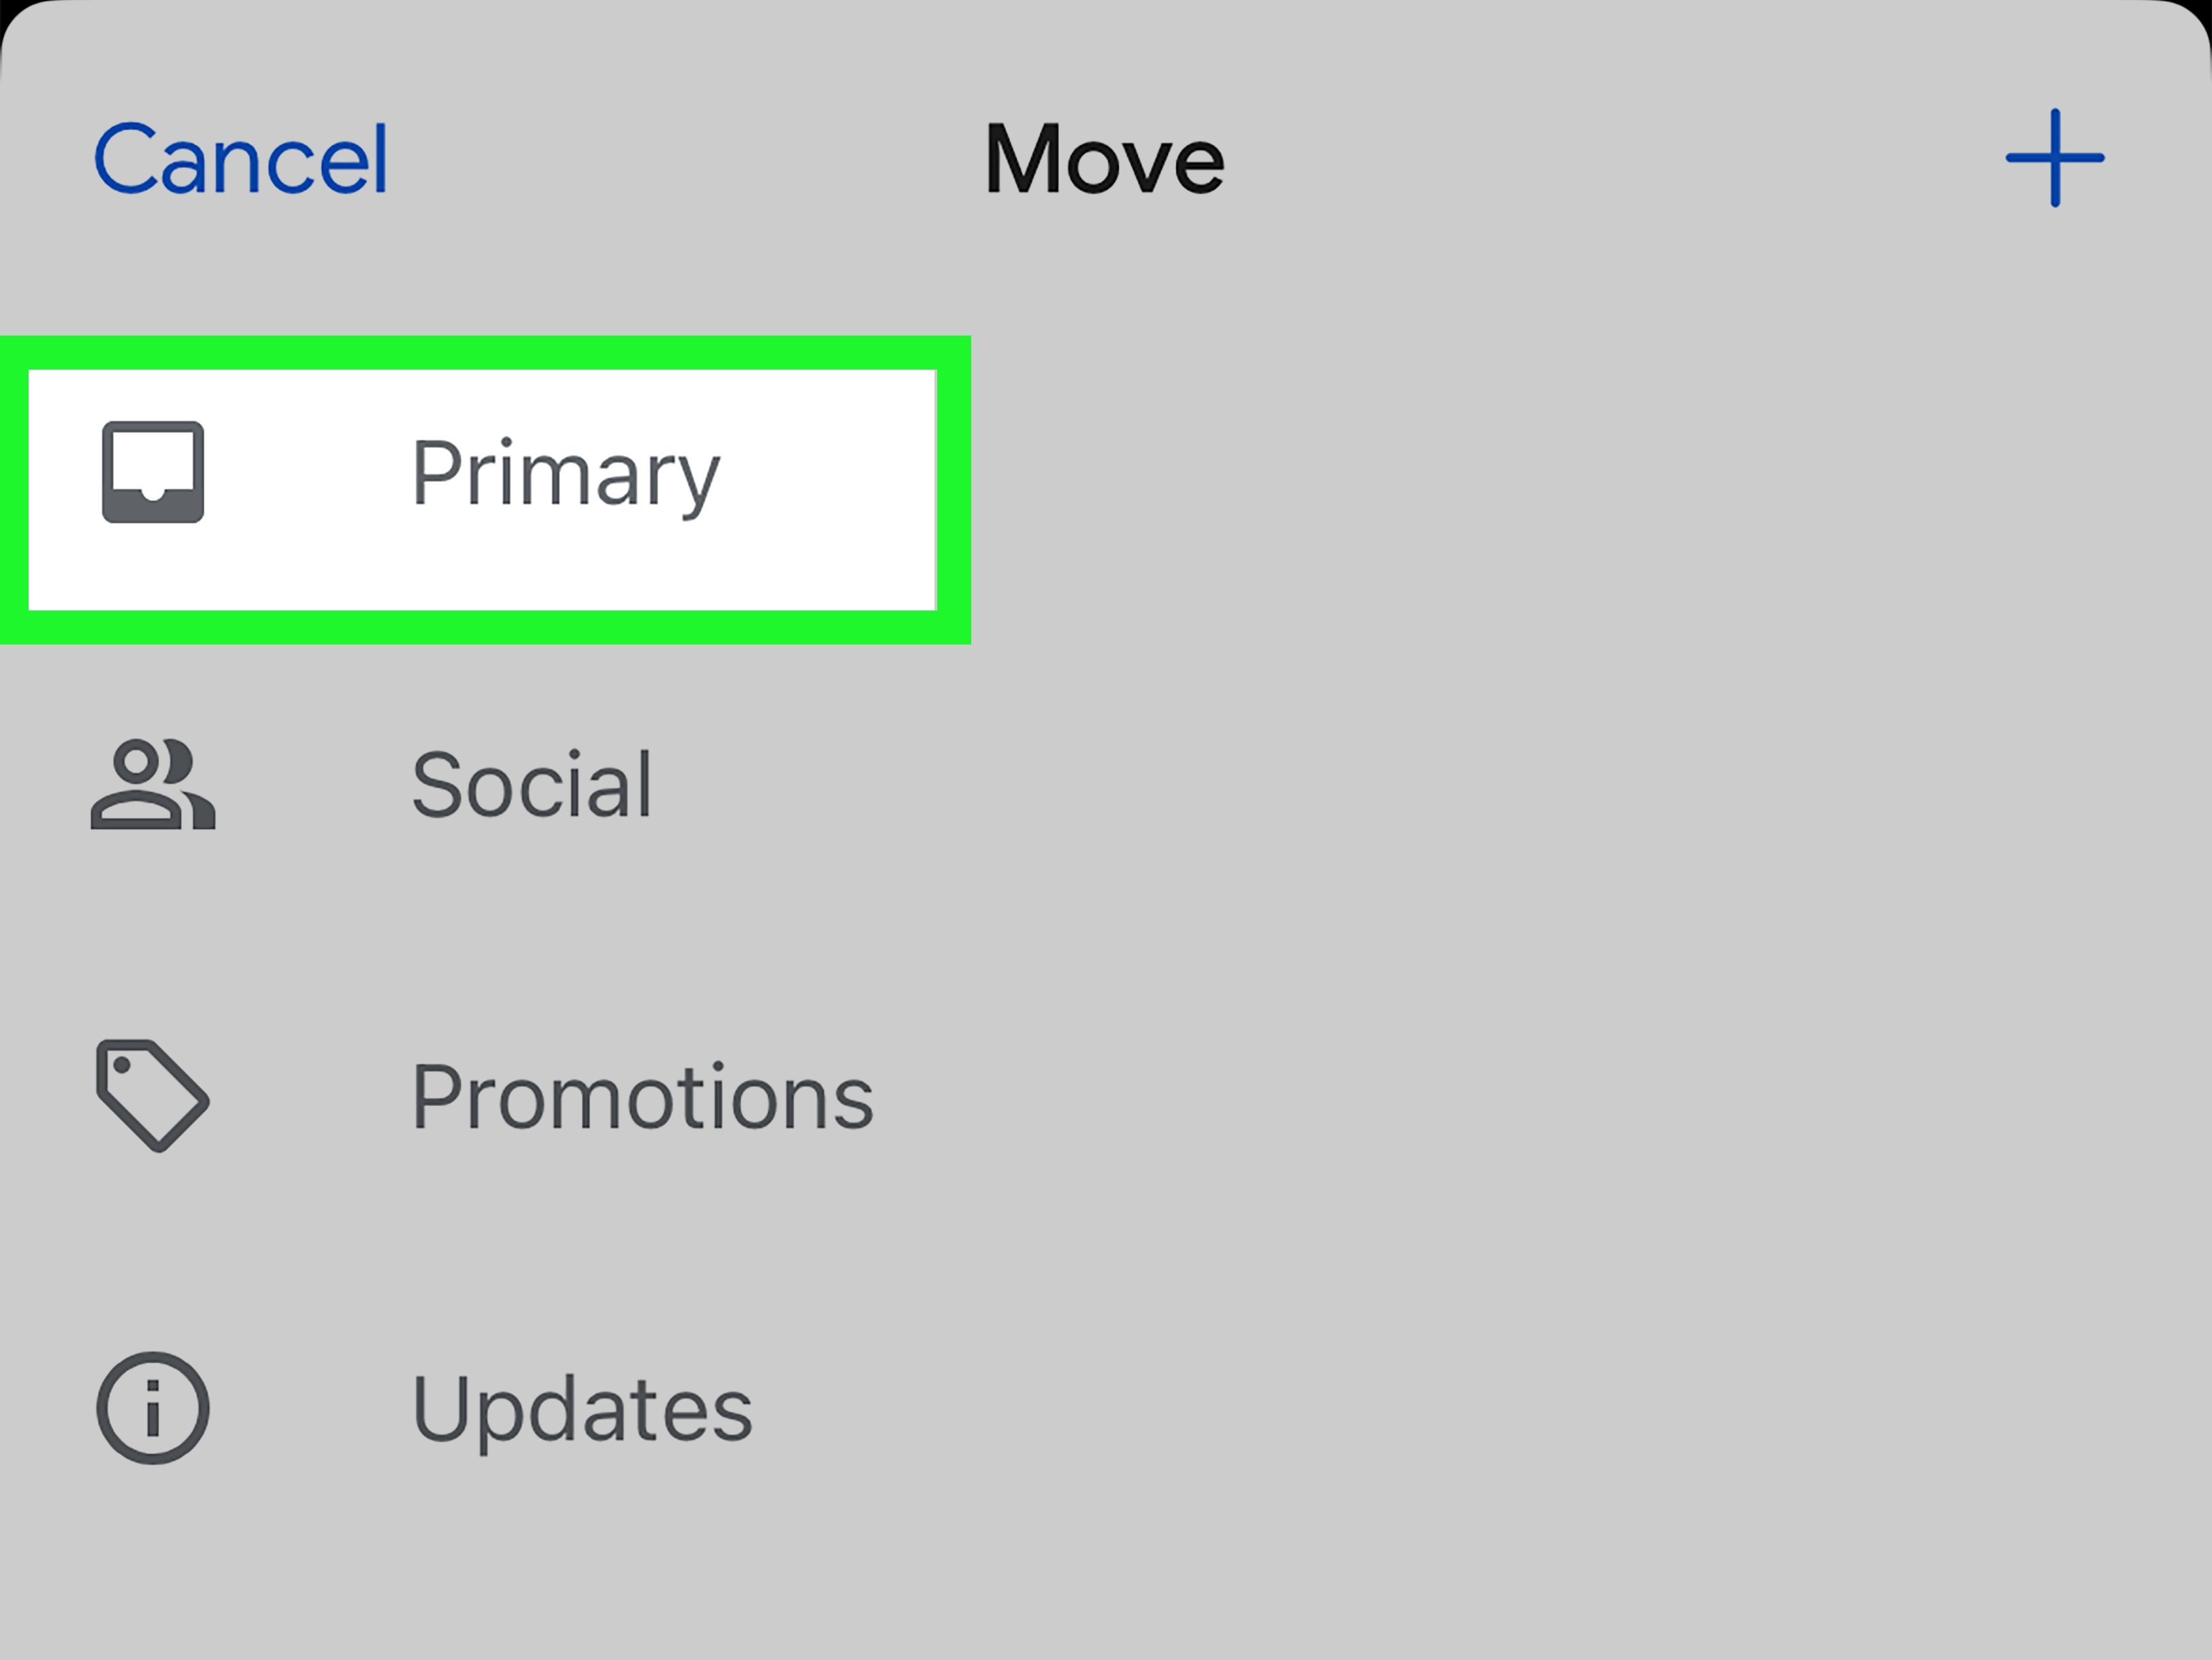
- Retrieve the Email: When you locate the email, tap to open it. Then, tap the folder icon at the bottom of the screen and select 'Move Message' to choose your desired destination, such as your 'Inbox' or another specific folder.
For more detailed guidance on these initial recovery steps, including visual aids, consider exploring resources like Recover iPhone Emails from Trash, Archive & Smart Search.
Retrieving Recently Deleted Emails from the Trash/Bin
When you explicitly delete an email on your iPhone, it typically doesn't vanish into the digital ether immediately. Instead, it's moved to a designated 'Trash' or 'Bin' folder, serving as a temporary holding area. This provides a crucial window of opportunity for recovery.
Step-by-Step Recovery from the Deleted Items Folder
The Trash folder is your primary safety net for recently deleted emails. However, it's important to act relatively quickly, as most email providers automatically purge emails from this folder after a certain period (which can range from a few days to 30 days, depending on the service).
- Open the Mail App: Start by opening the Mail app on your iPhone.
- Navigate to Mailboxes: If you're in an inbox, tap 'Mailboxes' in the top-left to view all your accounts and folders.
- Locate the Trash/Bin Folder: Scroll down the list of mailboxes. You'll typically find a folder labeled 'Trash,' 'Bin,' or 'Deleted Items' under each email account you have configured. Tap on the relevant account's trash folder.
- Find Your Email: Browse through the emails in the Trash folder. You can also use the search bar (pull down to reveal it) to quickly find the specific email by sender, subject, or keywords.
- Recover the Email:
- Tap on the email you wish to recover to open it.
- Tap the folder icon (the square with an arrow) at the bottom of the screen.
- From the options presented, select 'Move Message'.
- Choose the destination folder where you want to move the email back to, such as your 'Inbox' or another relevant folder.
Important Note: If you have multiple email accounts set up on your iPhone, remember to check the Trash/Bin folder for each account, as the email would be in the trash of the specific account it was received in.
Beyond the Basics: Advanced Recovery Techniques
What if your email isn't in the Trash, Archive, or discoverable by a smart search? While more challenging, there are still avenues to explore, especially if the email was deleted some time ago or if your iPhone's local recovery options have been exhausted.
Utilizing Server-Side Recovery and Webmail Interfaces
Your iPhone Mail app is merely an interface to your email provider's server. Most major email services (like Gmail, Outlook, Yahoo Mail, iCloud Mail) offer more robust recovery options and longer retention policies when accessed directly through a web browser.
- Log in via Web Browser: On a computer or your iPhone's web browser, go to your email provider's website (e.g., mail.google.com, outlook.com).
- Check Trash/Recycle Bin: Once logged in, navigate to the 'Trash,' 'Bin,' 'Deleted Items,' or 'Junk' folder. You might find emails there that have already been cleared from your iPhone's local Trash due to sync settings or time limits.
- Server-Specific Recovery Options: Many webmail interfaces have a "Recover items from this folder" or similar link within the trash/deleted items folder. Clicking this can often reveal emails that are considered "permanently" deleted on your local device but are still recoverable from the server for an extended period. For instance, Outlook.com offers a "Recover items deleted from this folder" option that can retrieve emails up to 30 days old, and sometimes even longer for specific folders.
- Move to Inbox: Once recovered on the web, these emails should re-sync with your iPhone Mail app, reappearing in your chosen folder.
This method is particularly effective because webmail interfaces often retain deleted emails for a longer duration than the local iPhone app, which is constrained by sync settings and local storage.
The Role of iCloud Backup (and other backups)
If you regularly back up your iPhone to iCloud or your computer, there's a theoretical possibility of recovering emails from an older backup. However, this method comes with significant caveats:
- Full Device Restore: Restoring from an iCloud backup means reverting your entire iPhone to the state it was in at the time of that backup. This will overwrite all data added since the backup, potentially leading to the loss of more recent photos, messages, app data, and other emails.
- Email Account Setup: Emails aren't typically "stored" in the backup like photos or contacts. Rather, the backup stores the settings for your email accounts. When you restore, your iPhone re-downloads emails from your mail server. If the email was permanently deleted from the server before the backup, restoring won't bring it back. If it was still on the server, it would likely have re-downloaded anyway without a restore.
For these reasons, restoring from an iCloud backup is generally not recommended as a primary strategy for recovering a specific deleted email due to the risk of data loss and its limited effectiveness for email. It's only a viable option if you're desperate and have no other means, and are willing to sacrifice recent data for a chance at older information.
When to Consider Third-Party Data Recovery Tools (with caution)
For truly permanently deleted emails—meaning they've been purged from the Trash/Bin on both your iPhone and the mail server—third-party data recovery software for iOS exists. These tools claim to scan your device's internal storage for fragments of data that haven't been overwritten yet. However, this is a highly technical and often expensive last resort.
- Low Success Rate: The chances of recovering email data this way are typically low, especially if you've continued to use your phone since the deletion, as new data can quickly overwrite the deleted email fragments.
- Complexity and Cost: These tools usually require connecting your iPhone to a computer, can be complex to use, and often come with a significant price tag for the full recovery feature.
- Data Security Risks: Be extremely cautious when choosing such software, as some may pose security risks or simply be ineffective. Stick to reputable brands if you absolutely must explore this option.
We strongly advise exhausting all other methods mentioned above before considering third-party data recovery software.
Proactive Measures: Preventing Future Email Loss
While recovery is often possible, prevention is always better than cure. Here are some actionable tips to minimize the chances of losing important emails on your iPhone again:
- Understand Swipe Actions: Familiarize yourself with how your Mail app (and any third-party email apps) handles swipe gestures. A left swipe might delete, archive, or move an email depending on your settings and email provider. Adjust these settings to your preference in Settings > Mail > Swipe Options.
- Regularly Organize: Don't let your inbox become a black hole. Regularly archive or move emails to specific folders to keep your main inbox manageable. This reduces the likelihood of accidentally deleting important messages while "cleaning up."
- Check Trash Retention: Be aware of your email provider's trash retention policy. Knowing how long emails stay in your Trash folder gives you a deadline for recovery. Many services offer a 30-day window.
- Use Search, Don't Delete: If you're looking for an email, use the powerful search feature instead of scrolling endlessly and accidentally deleting something crucial.
- Back Up Your Device (for settings): While not directly for email content, regular iPhone backups ensure that your email account configurations and other crucial device settings are saved, making it easier to set up a new device or recover general settings.
- Confirm Deletions: Some email apps offer a "Confirm Deletion" setting. While it adds an extra tap, it can prevent accidental permanent deletion.
Conclusion
Losing an important email on your iPhone can be stressful, but as this guide illustrates, the situation is rarely beyond hope. By understanding how to retrieve deleted emails on iPhone, you gain the power to reverse those accidental deletions. Start with the simplest methods: checking your Mail app's smart search, then the Archive folder, and finally the Trash or Deleted Items folder. If those local avenues are exhausted, leverage your email provider's webmail interface for server-side recovery, which often offers longer retention periods.
Remember, acting quickly significantly increases your chances of successful recovery, as deleted emails have a time limit before they are permanently purged. By familiarizing yourself with these recovery techniques and adopting proactive organizational habits, you can navigate the digital world of email with greater confidence and peace of mind.